In this exercise , you put in the Subscription Links gadget permitting guests to subscribe to your blog using a “reader” as well as the favored Google Reader. However, there are still several web users that don’t grasp what a reader is or the way to use it. an alternate (and popular) optionis permitting your readers to subscribe via email. this suggests that whenever you post to your blog, the reader would get an email listing the post or posts you’ve recently printed. though a reader could also be commonly unfamiliar, many readers knowledge to use email and check it usually.You want to grant your readers each chance to subscribe to your blog and keep updated with its content.
Feed Burner is another free tool provided by Google and can enable blog guests to subscribe to your blog via email. you may produce a feed—a information format permitting your blog subscribers to remain updated with your blog’s content. Once created, you will additionally read stats on those that have subscribed, which is able to be reviewed later during this section.
Although we tend to bear all the steps in setting upyour feed and adding the FeedBurner gadget to your blog, this book won't cowl all aspects, tools, or functionality of FeedBurner.
Setting Up and putting in FeedBurner
In this exercise, you may be putting in an email subscription service using FeedBurner. Once the feed is created, you may get the HTML code required to be inserted into a gadget in your blog's sidebar. Please use the following steps:
1. Log in to your Blogger account.
2. Open another web window and attend feedburner.google.com. you will have to re-enter your Google password (the password you used to login to Blogger). In the next screen, you may produce a feed for your blog (see Figure 4-1). Copy and paste your blog’s address into the text box “Burn a feed right this instant.” Click Next.

3. within the next screen “Identify a Feed supply,” select either format. during this example for the right Landscape, the default “Atom” was used. 4. Click Next and you're currently at a screen that has generated your Feed Title and Feed Address (see Figure 4-2).

5. you will modify the Feed Title if necessary. Don’t modification something within the Feed Address. Click Next.
6. Your feed has currently been started (see Figure 4-3). you will click Next to setup and review Feed Burner Stats or click “Skip on to feed management.”

7. Let’s continue putting in the Feed Stats (it’s one extra step). Again, by tracking your readers’ actions, you may higher study what your readers like.
8. Using the right Landscape example, Click through is checked further as “I want more! Have Feed Burner Stats additionally track” (see Figure 4-4).

9. Click Next and you've got completed the Feed Burner setup (see Figure 4-5).

10. within the future, if you would like to review your FeedBurner statistics, click the Analyze tab. except for currently, to feature the gadget to your blog to permit email subscriptions, click Publicize.
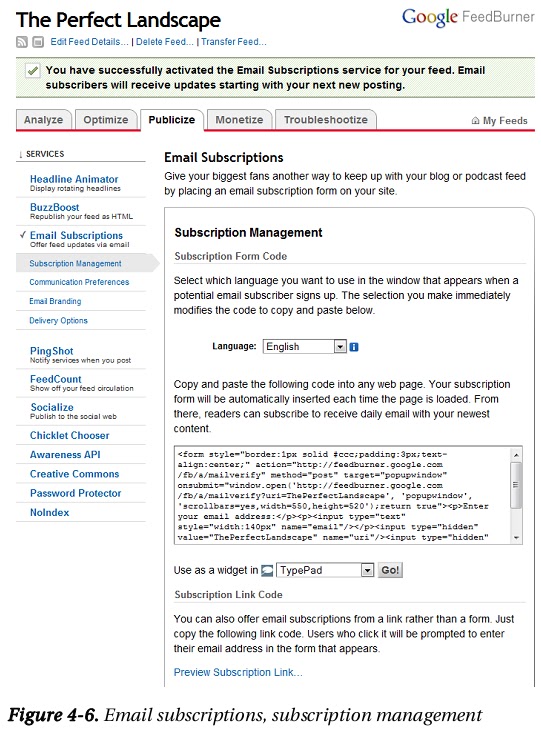
11. Click Email Subscriptions (see Figure 4-6).
12. Click Activate. you simply got to do that once when 1st putting in the e-mail Subscriptions.
13. at intervals a couple of seconds, you ought to receive a message regarding successfully activating the service. If you get a mistake, log out, log back in; attend your feed; click Publicize, Email Subscriptions, and take a look at once more.
14. Copy the code within the massive text box where it states “Copy and paste the subsequent code into any net page” (see Figure 4-6).
15. attend Blogger and from the Dashboard attend style and Page parts
16. Click Add a Gadget within the sidebar .
17. select HTML/JavaScript.
18. within the Title, leave it blank, write “Subscribe Here,” “Keep Updated,” or something else you'd like.
19. Paste the HTML code from FeedBurner into the massive text box (Figure 4-7).

20. Click Save.
21. Drag and drop where you'd just like the gadget to look in your sidebar. In our example with the right Landscape it seems beneath regarding Me.
22. Click Save.
23. View Blog.
While this was a protracted exercise, it absolutely was well worthwhile. you've got completed adding the Feed Burner Email Subscriptions, and your readers currently have a selection to subscribe to your blog employing a reader like Google Reader or the power to sign in for email updates.
No comments:
Post a Comment